This is a serious route with many pitches that are light on gear protection and have loose rock. It should only be attempted by parties who are very competent at the grade and comfortable in the ‘Rockies Alpine Climbing Environment’. Parties will also need to have excellent route finding ability and be able to handle an enormous volume of climbing. Do not take this route lightly.
Staging:
Park for Solar Panel (52.1169, -116.4346) and leave a vehicle at the Pinto Lake Staging Area (52.1673 -116.4768).
Note: The approach climbing is not added to the route total of 920m
Beta
Approach:
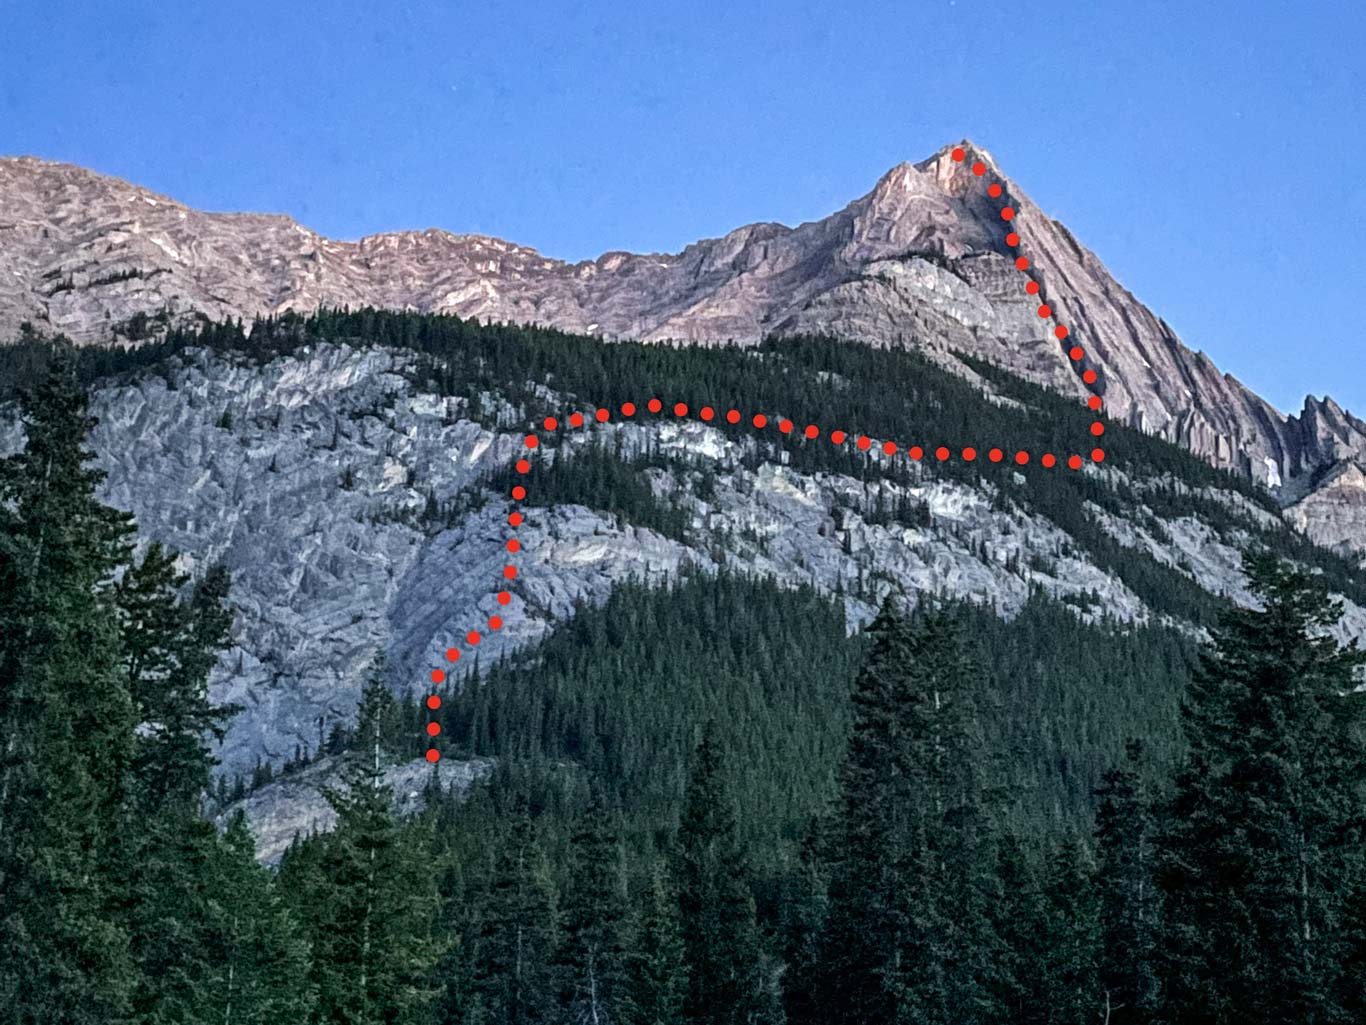
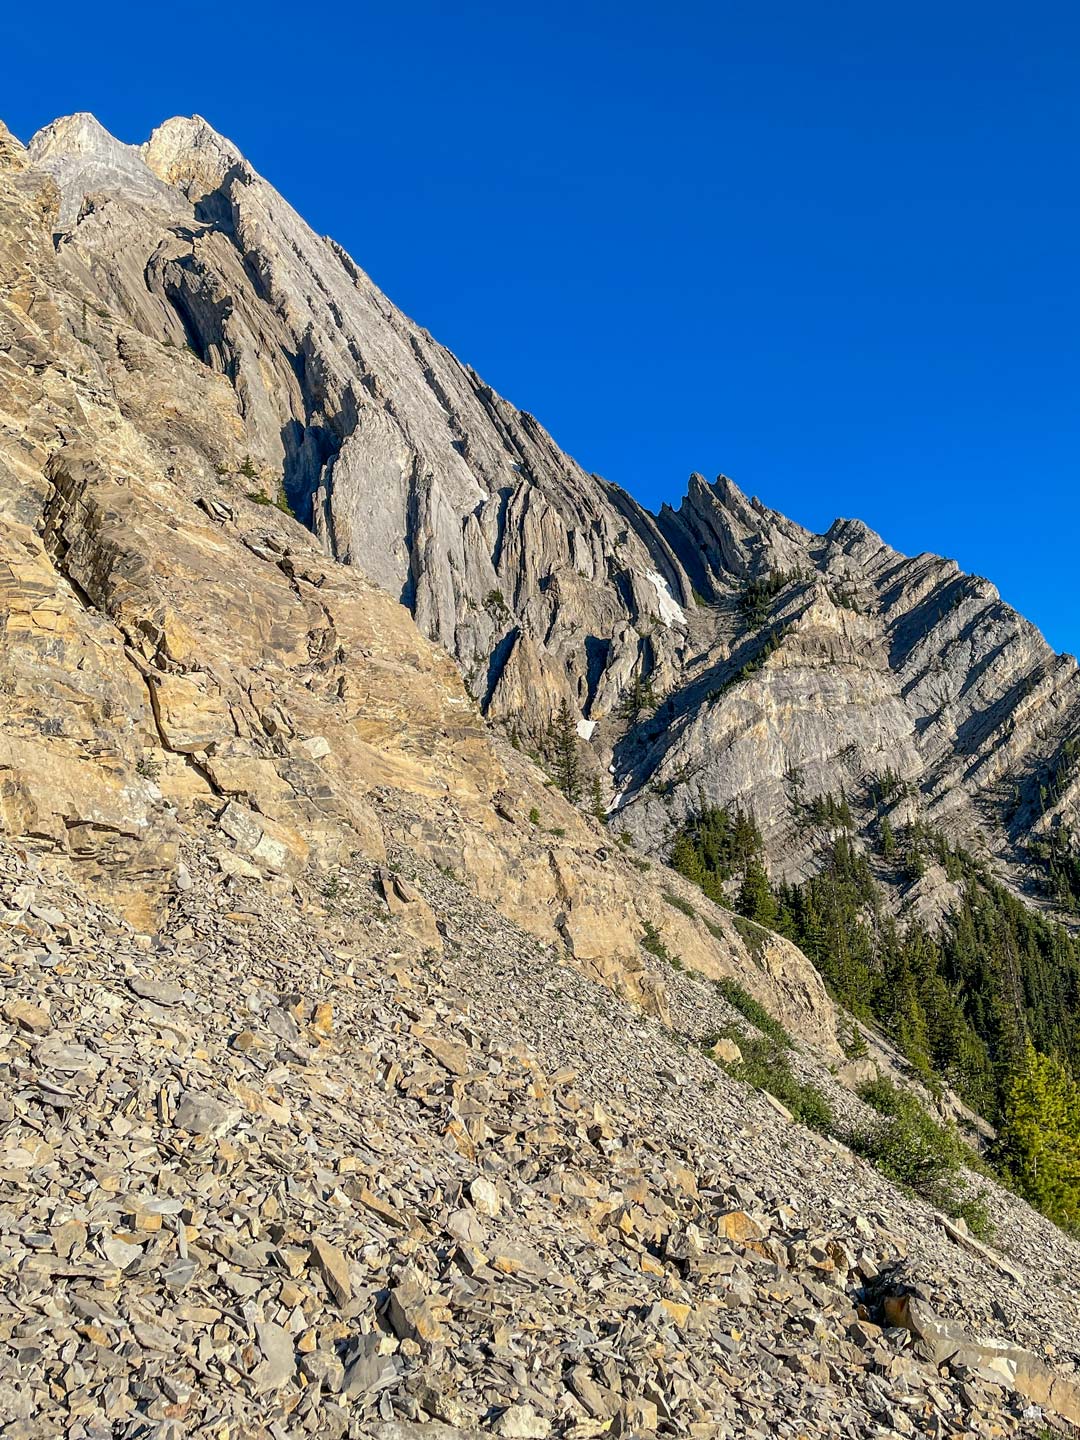
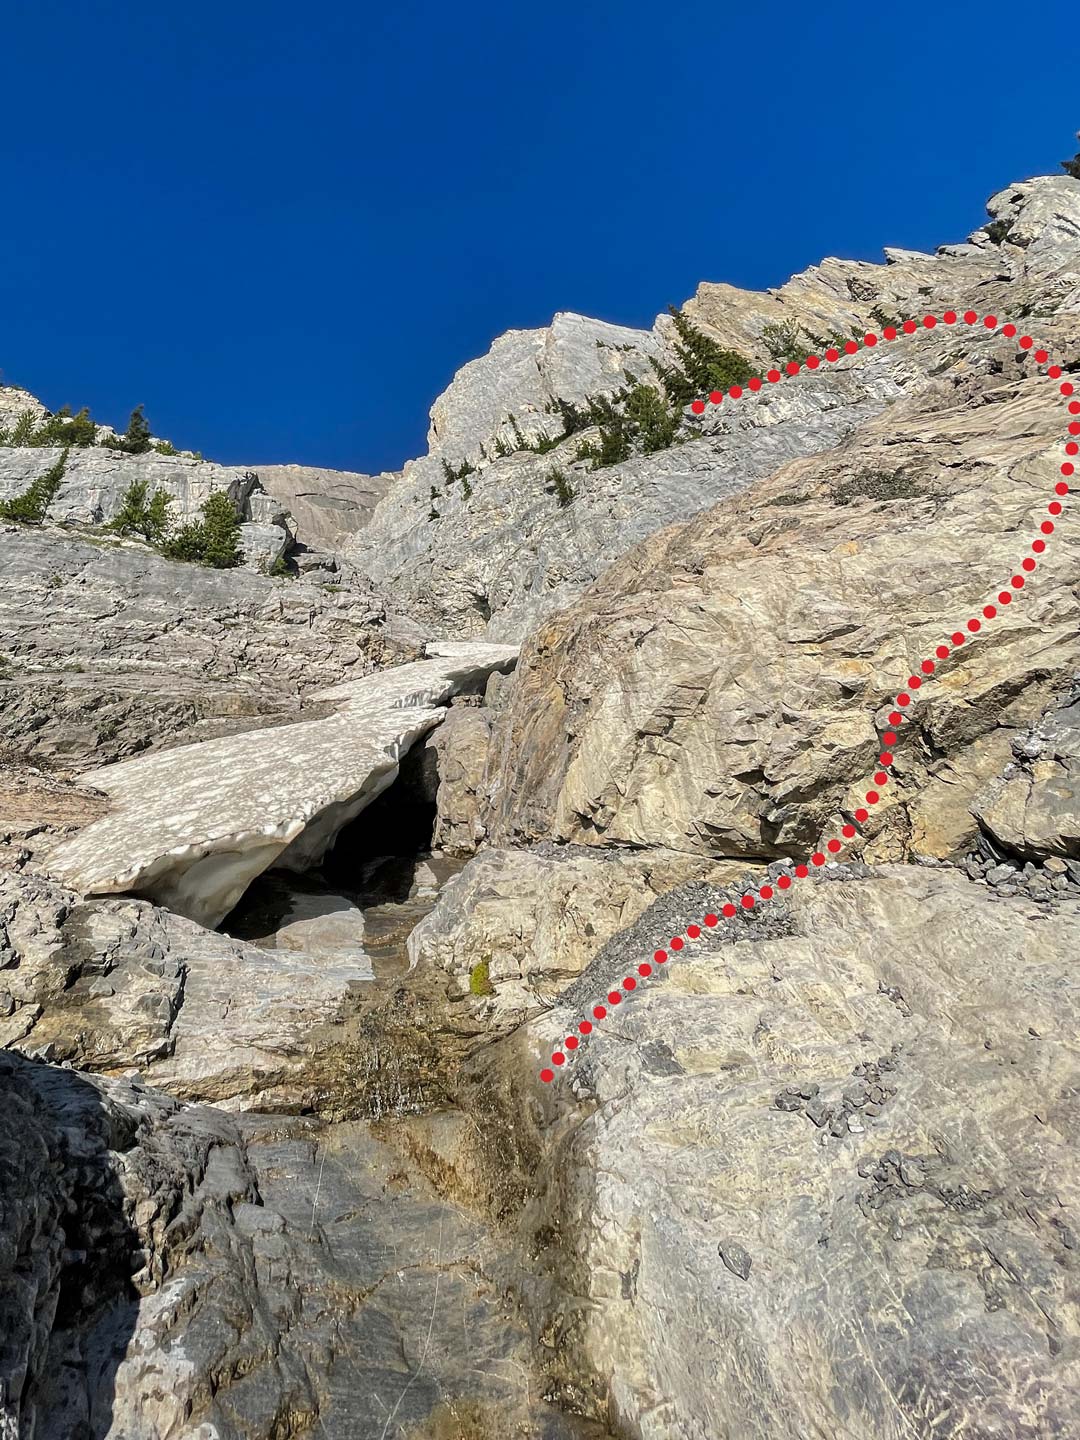
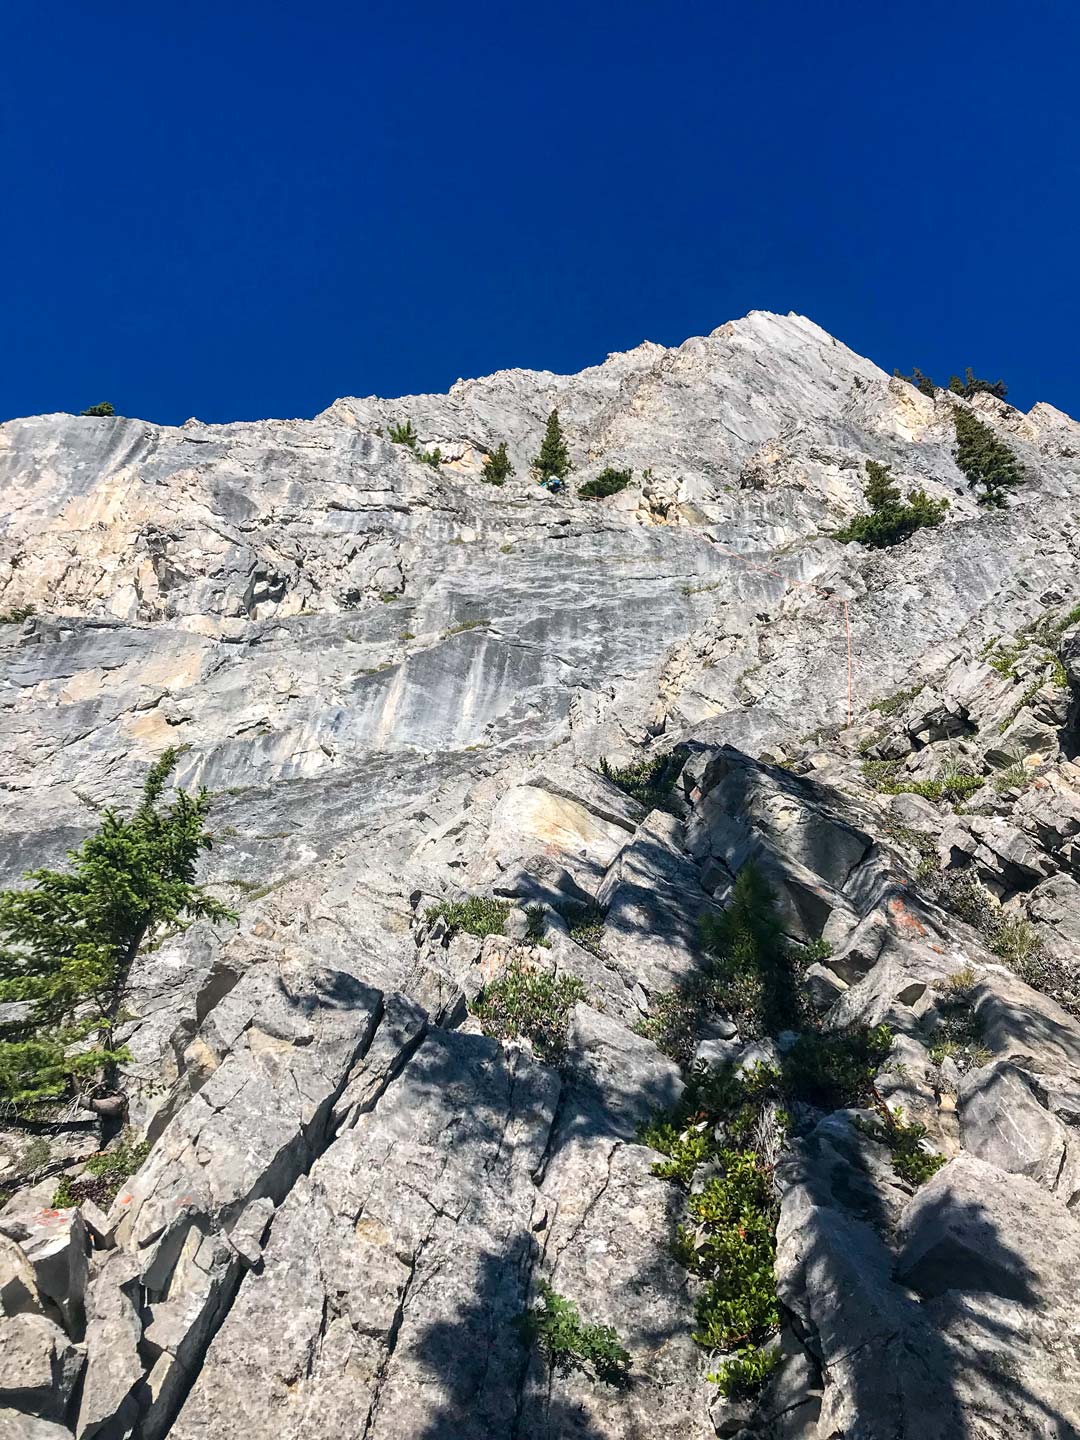
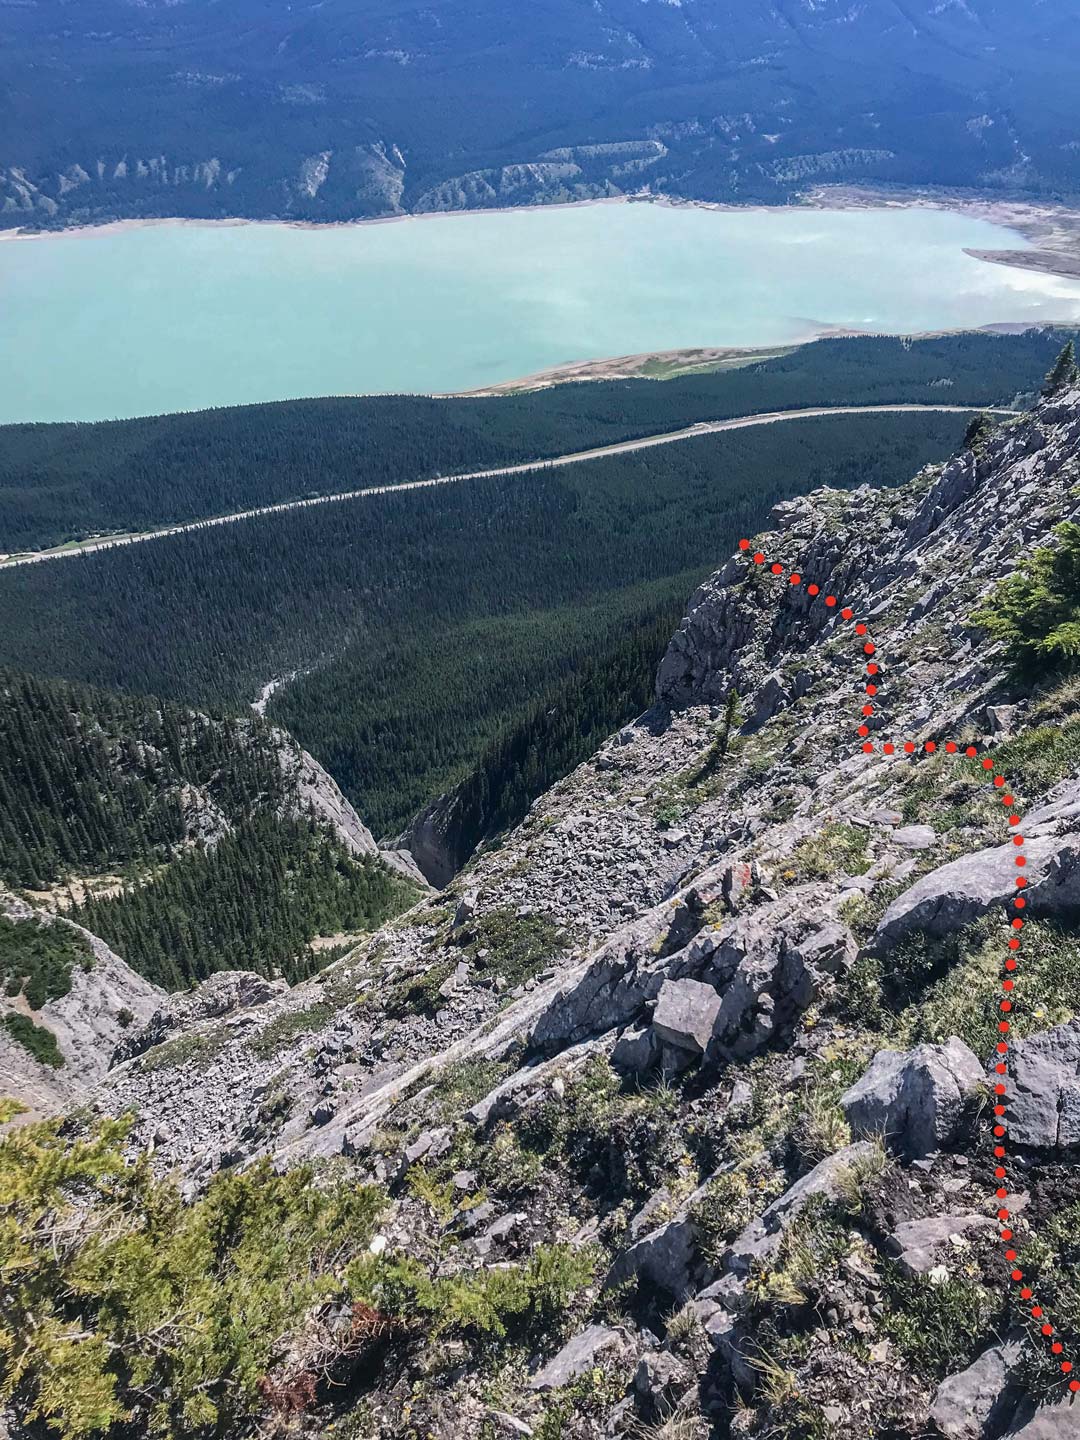
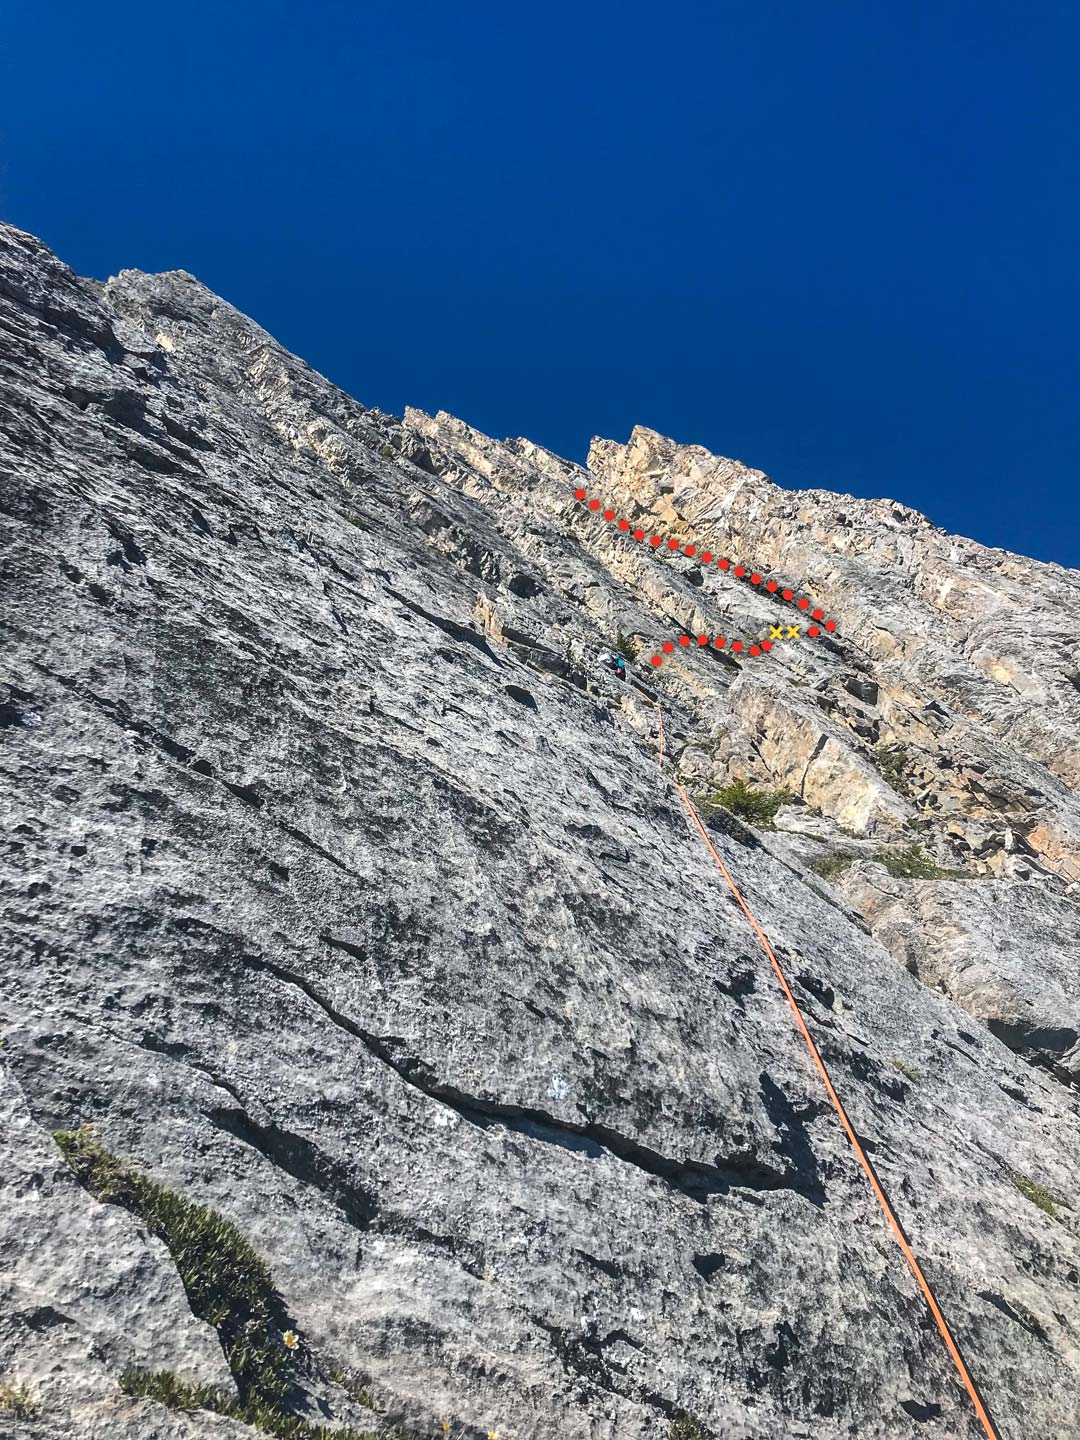
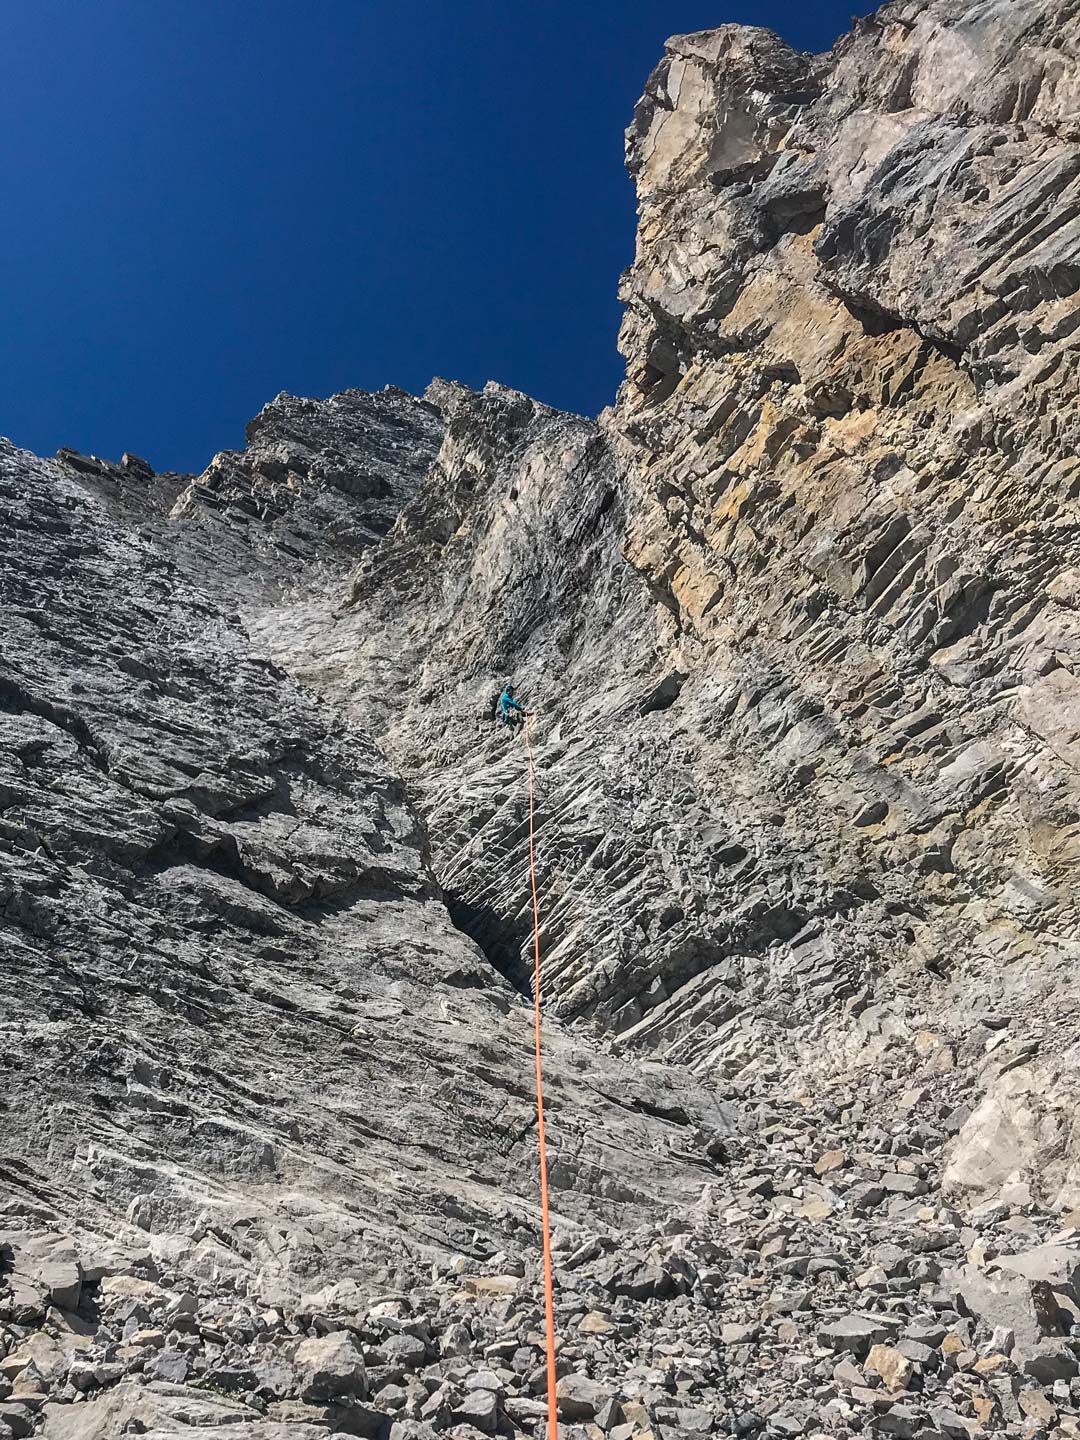
Climb Voltzwagon to its top and continue through the trees for one more pitch to reach the belay stations for the last pitch of AA. Climb the last Pitch of AA (5.8 version) and work your way up onto the treed ridge. Work right without gaining too much ground to find the gully above the ice climb Elliot’s Left Hand. Work over and down into the gully, finally reaching its center. Scramble up and fairly far right to reach a weakness about 70 meters up, which allows you to gain the next bench. Move left and slightly down to the center wall, below the smaller fold. Find a very large tree and set up for pitch one.
Pitch 1: 45m 5.4
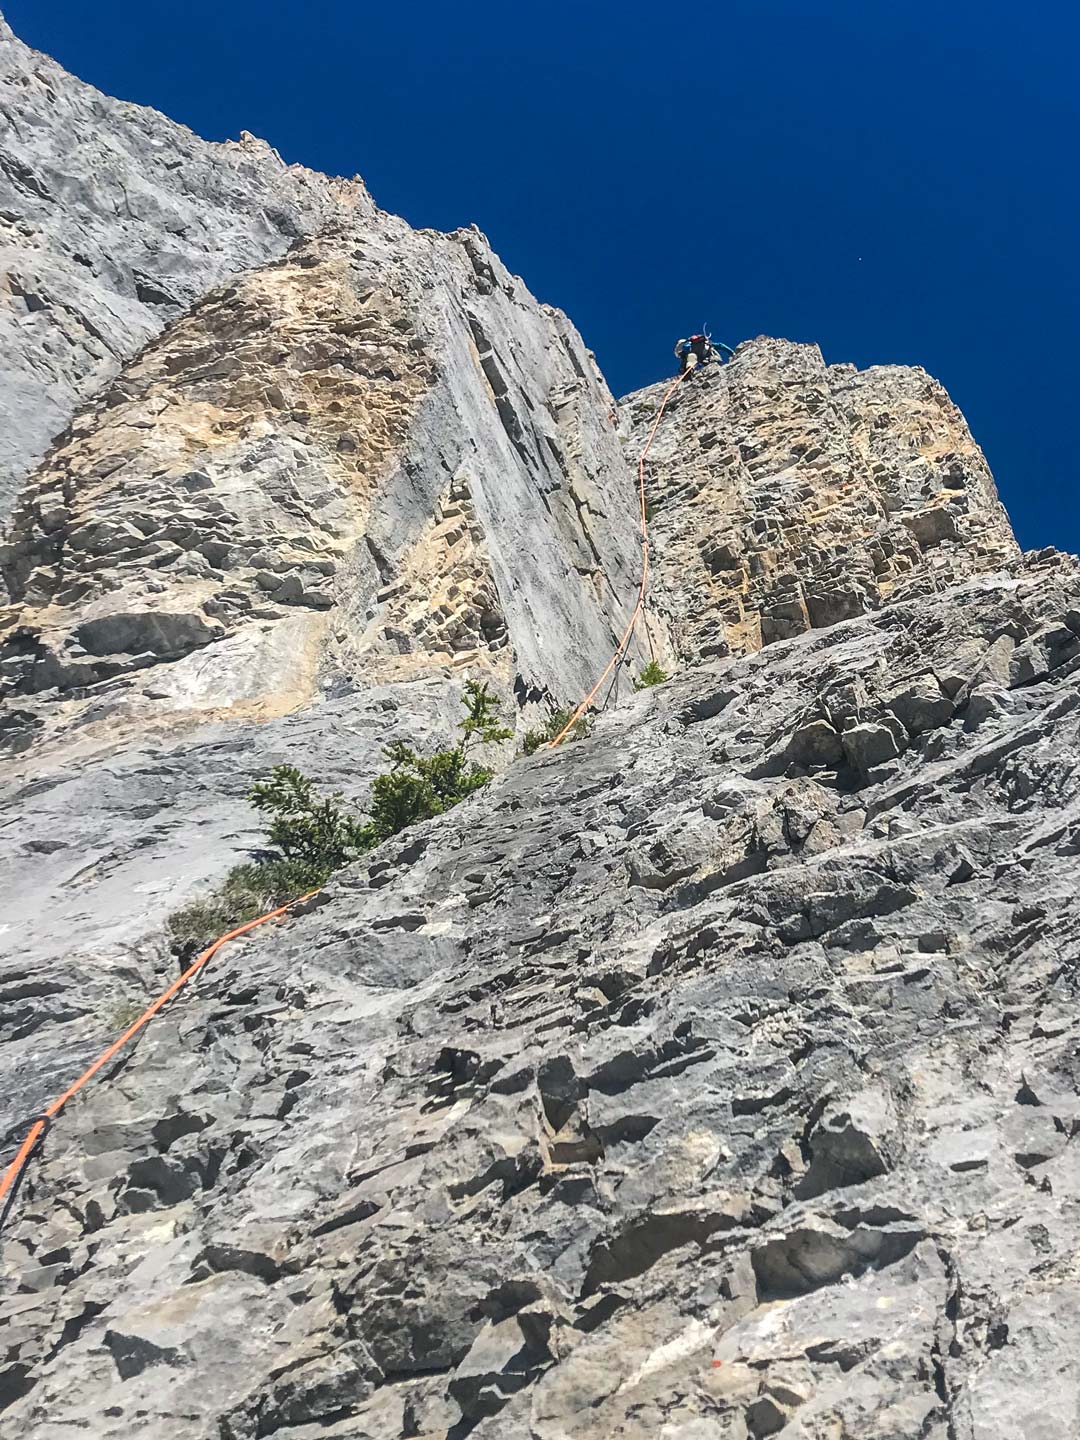
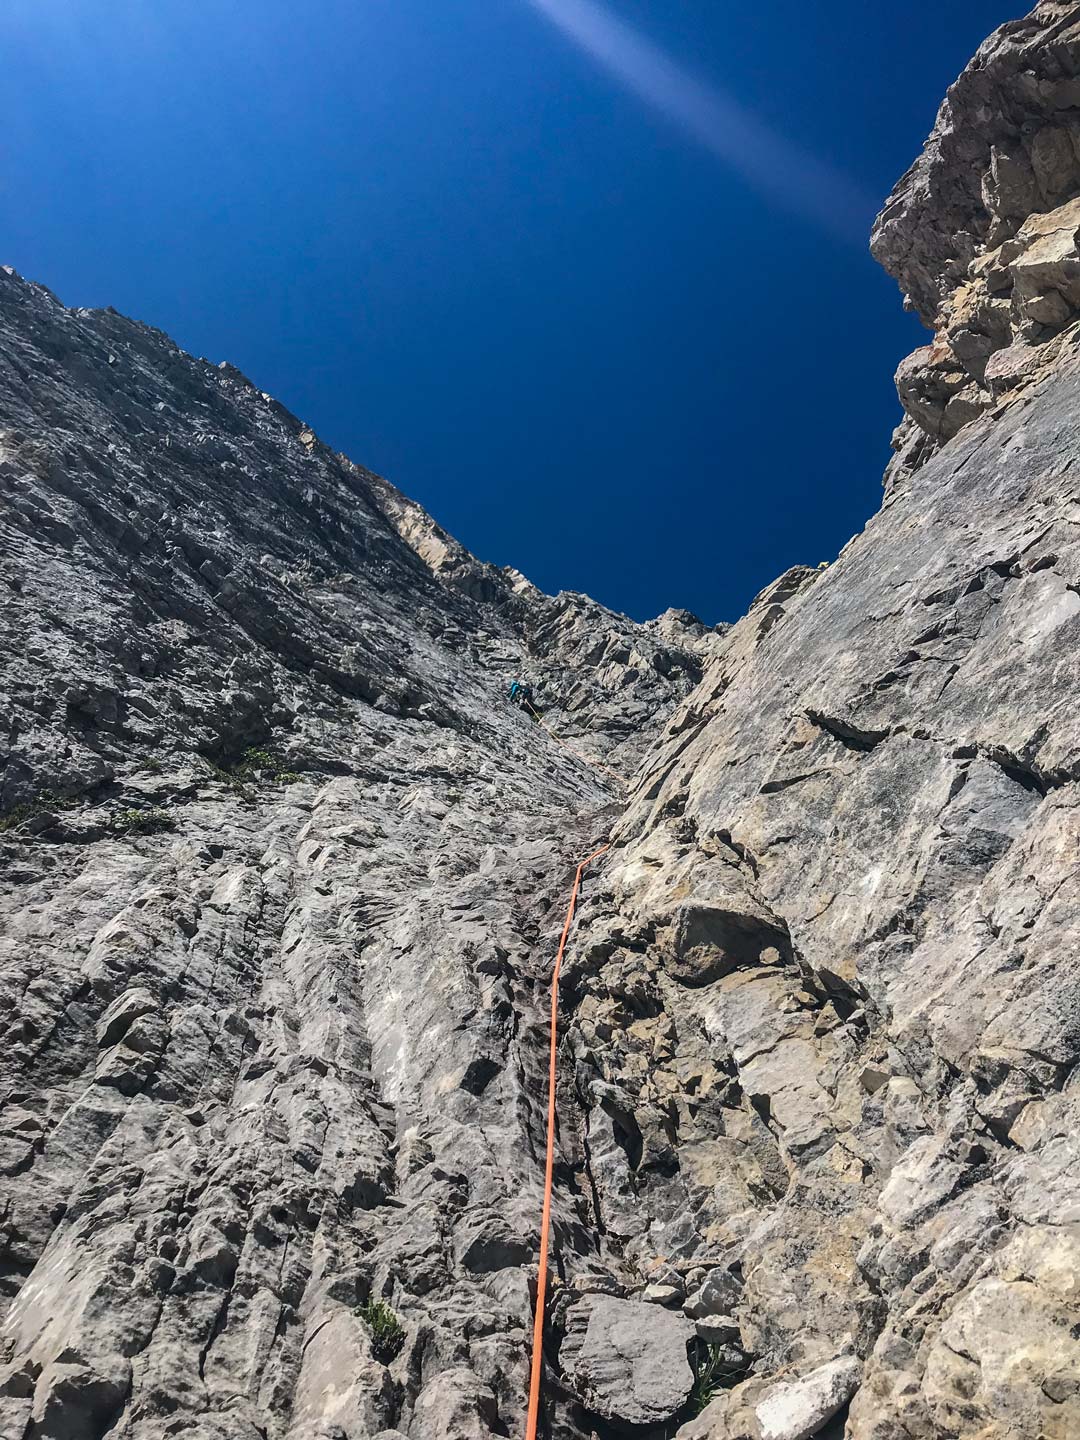
Move right to easier ground and gain a few pieces of protection. Work back left into a bay above your belayer. Continue up and slightly left to a tree belay on your right.
Pitch 2: 50m 5.7 R
(Not Pictured) Step up and right into the gully. Climb up and slightly left for a fair while before gaining mediocre gear. Work up and left towards the lip of the wall and step up. Belay five meters up at the right of two trees with a bolt 4 meters above it. This pitch is a bit run out at the beginning. If it feels uncomfortable take that as a sign that the rest of the route might not be for you.
Pitch 3: 55m 5.8
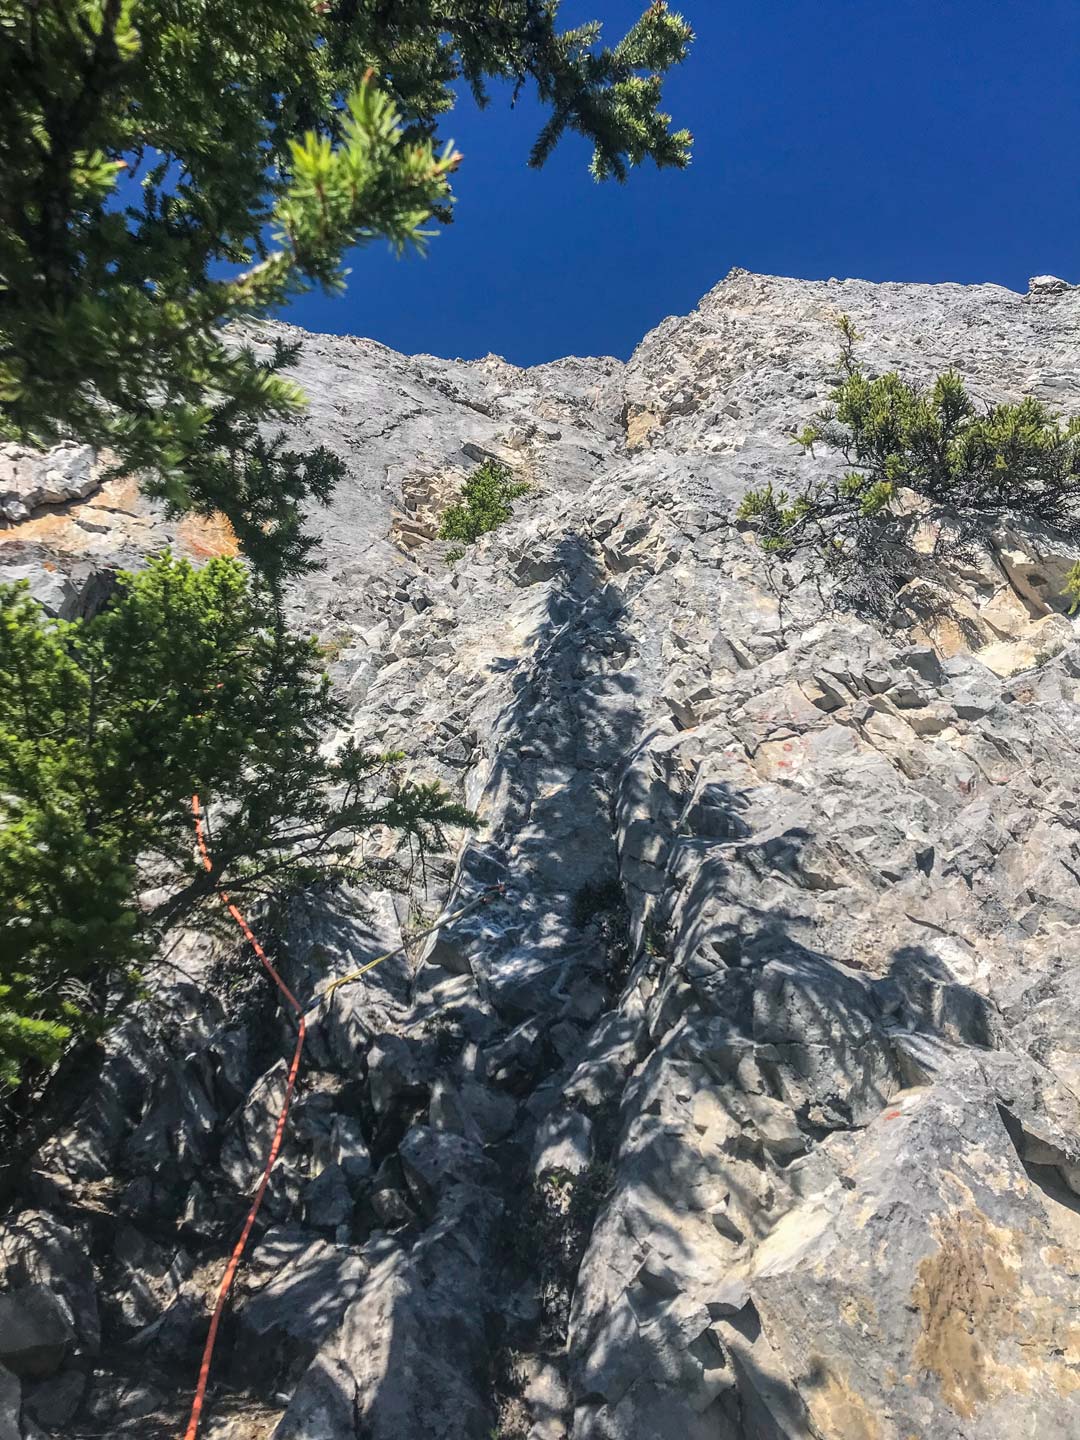
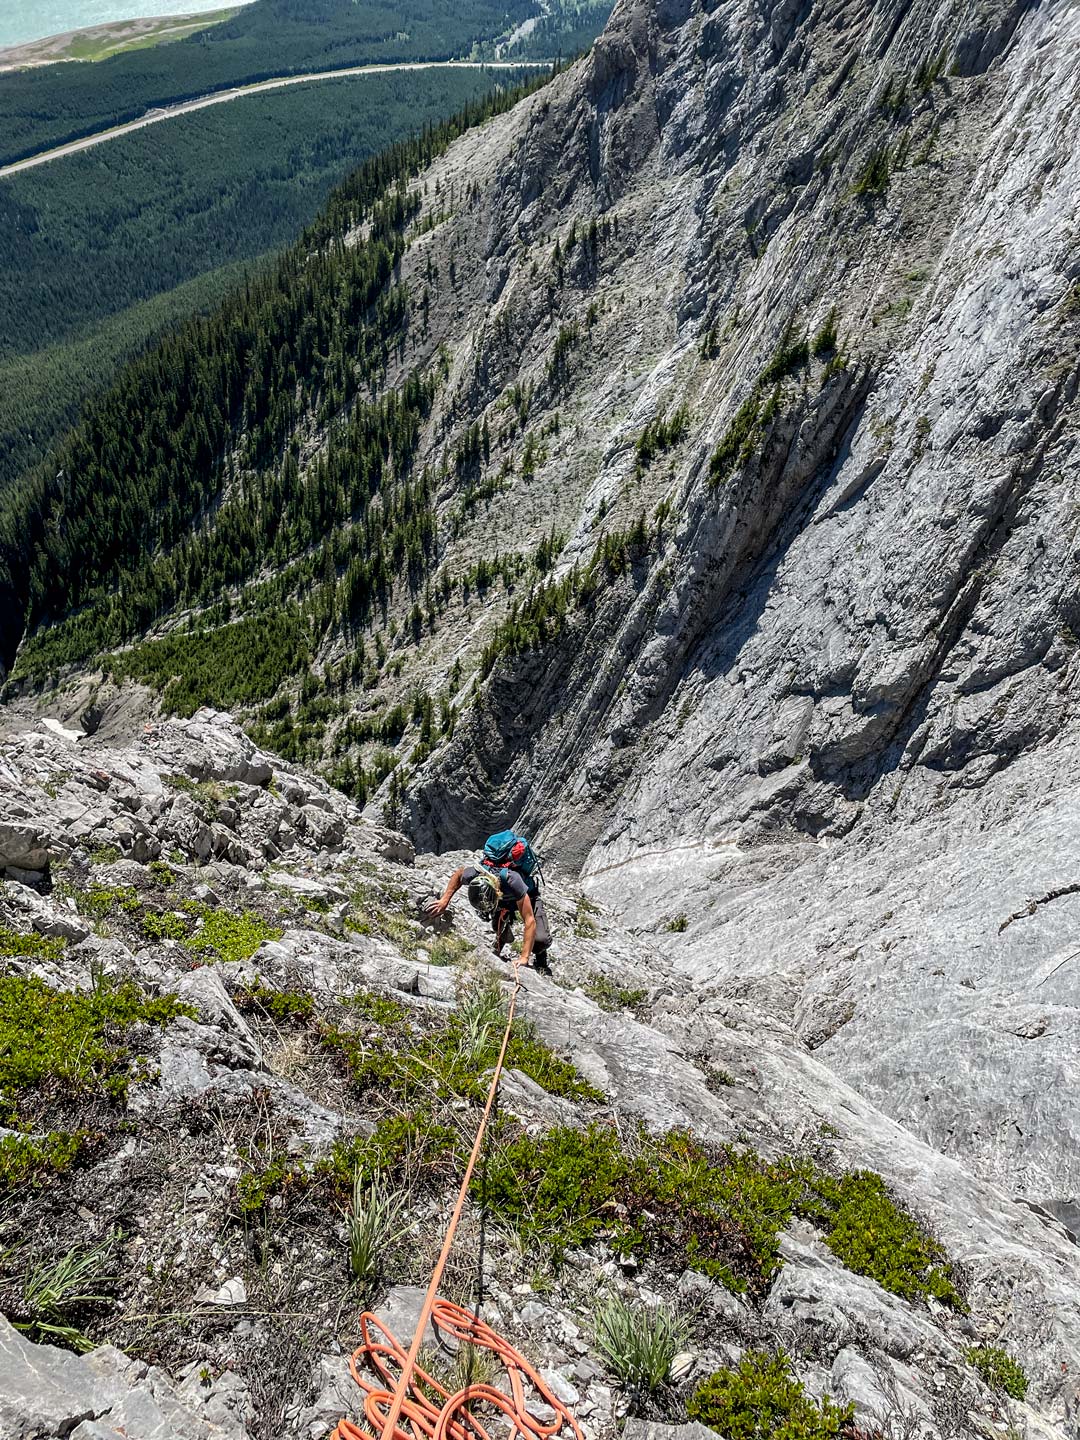
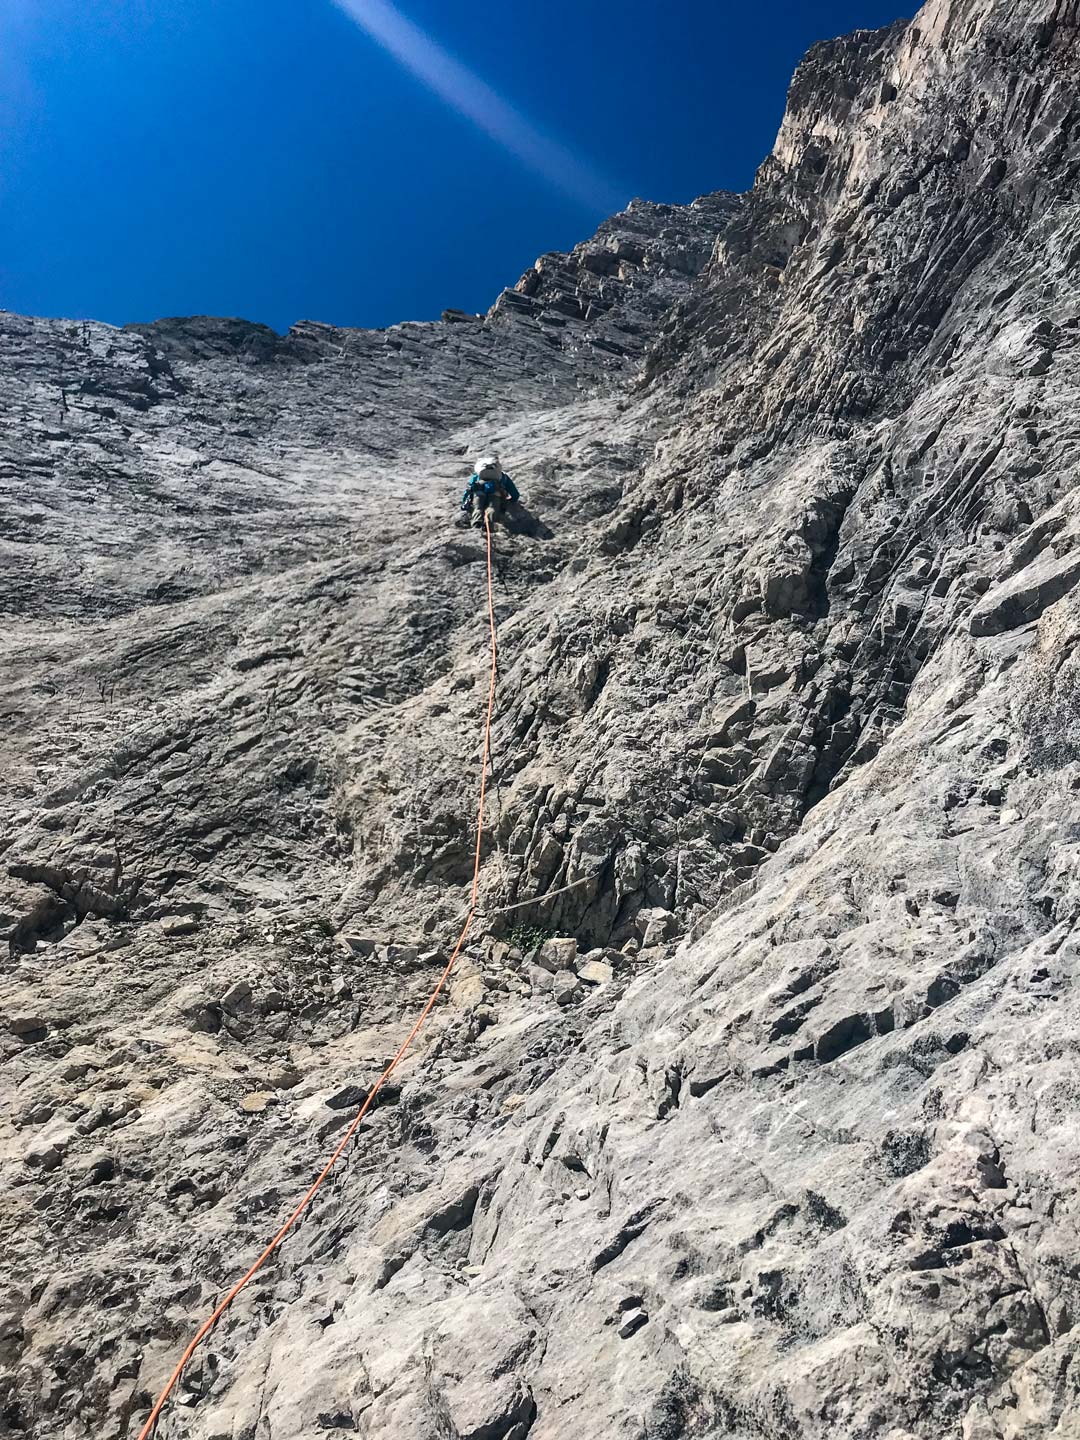
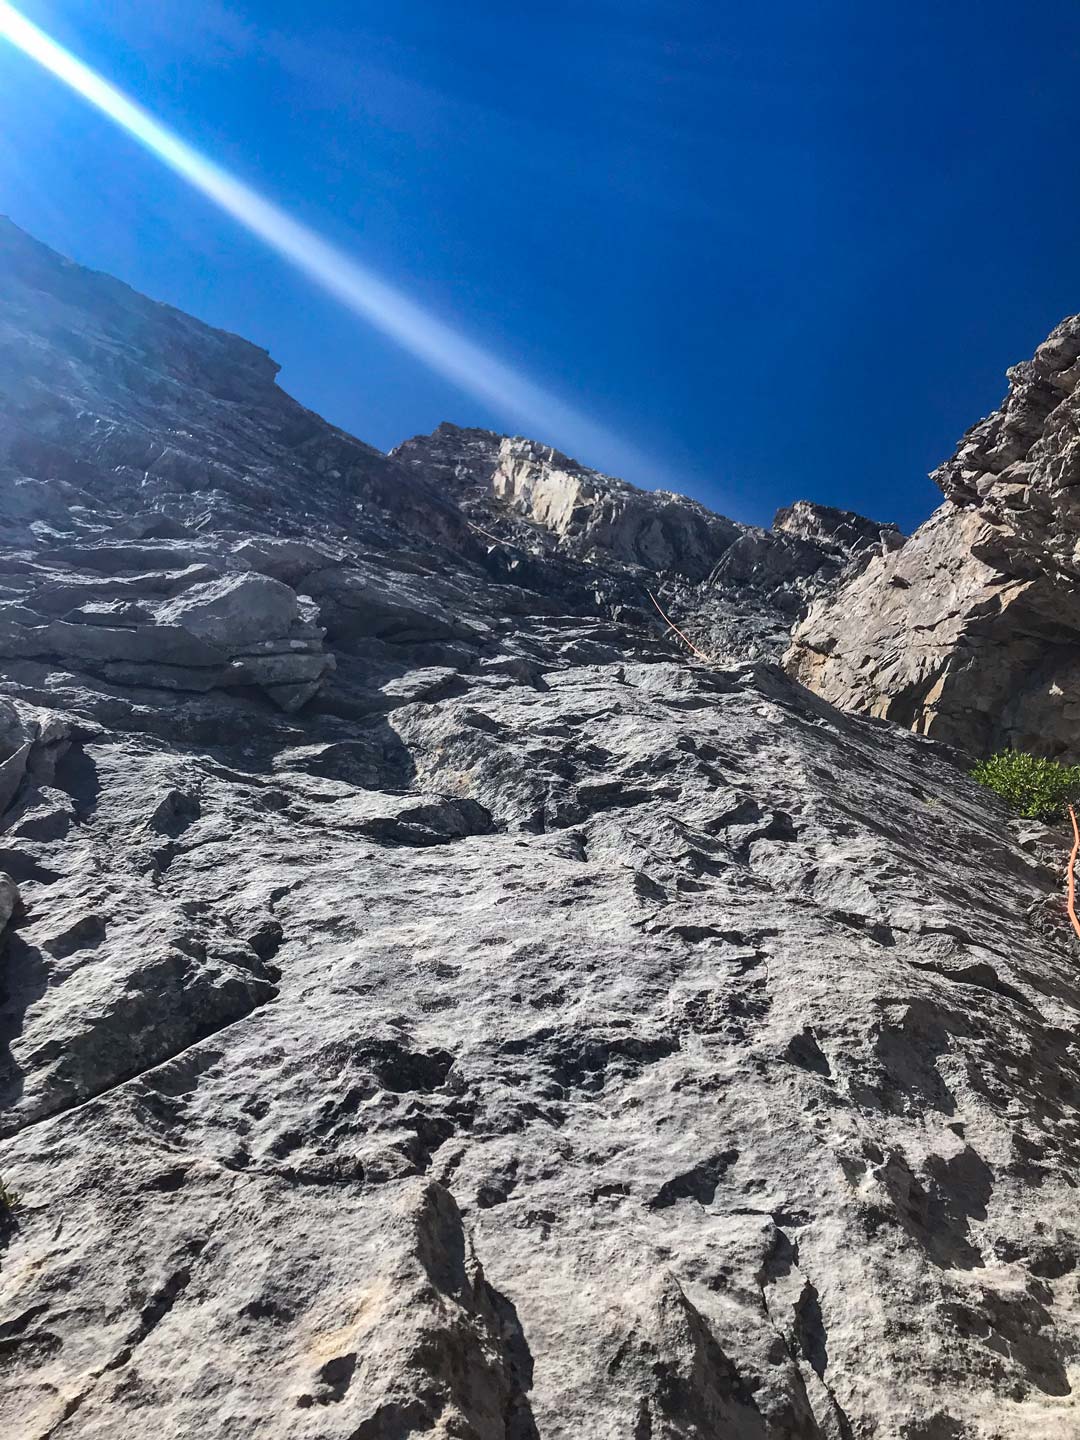
Extend your belayer out and right a few meters so they are out of harm’s way from rock fall. Climb up and clip the bolt. Continue up the main part of the gully and don’t move left to the ridge. Stay in the weakness till it gains the ridge naturally and then follow it to a 2 bolt belay.
Pitch 4: 60 m 5.8
Move up 15 meters and climb the corner to regain the ridge. Move up and trend slightly left at 45 m to avoid loose rock and find some sneaky gear. Climb to the 2 bolt anchor.
Pitch 5: 50m 5.7
Move up and around the steep wall to easier climbing on the right side, as you wrap around and gain a flat knoll. Traverse hard right and up a bit to gain a 2 bolt belay above two small spruce trees.
Pitch 6: 45m 5.6 R
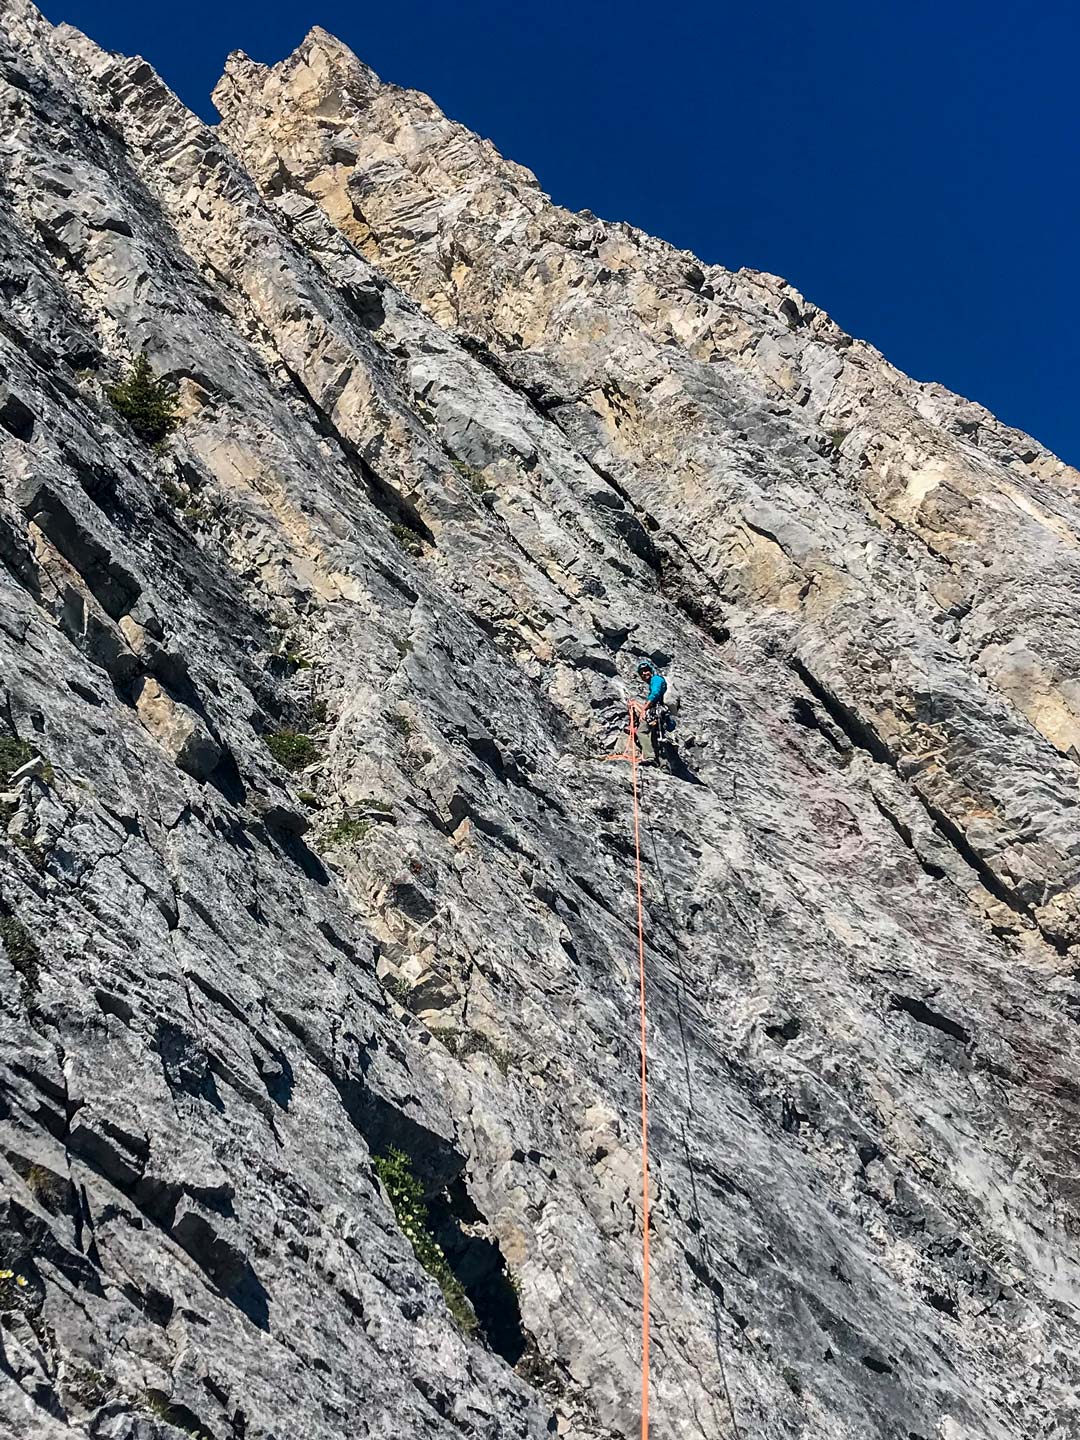
Climb up and slightly right for 20 meters then travers directly right to gain a 2 bolt belay just left of the gully with slightly reddish rock.
Pitch 7: 60m 5.8
Climb the farthest right water worn weakness (reddish rock). Which is five meters right of the belay. After gaining the lip of the steep section move up to a 2 bolt belay on the right hand side in the gully.
Pitch 8: 61m 5.8
Climb up, slightly left, good rock with a bit of protection, then trend back right with the gully to gain the belay on the right wall.
Pitch 9: 61m 5.7 R
Continue up the gully to a belay on the left side.
Pitch 10: 60 m 5.7 R
Move right from the belay and up onto the face with pretty good rock. Trend a bit right looking for a 2 bolt belay just up and left of a fairly large stance.
Pitch 11: 60m 5.7
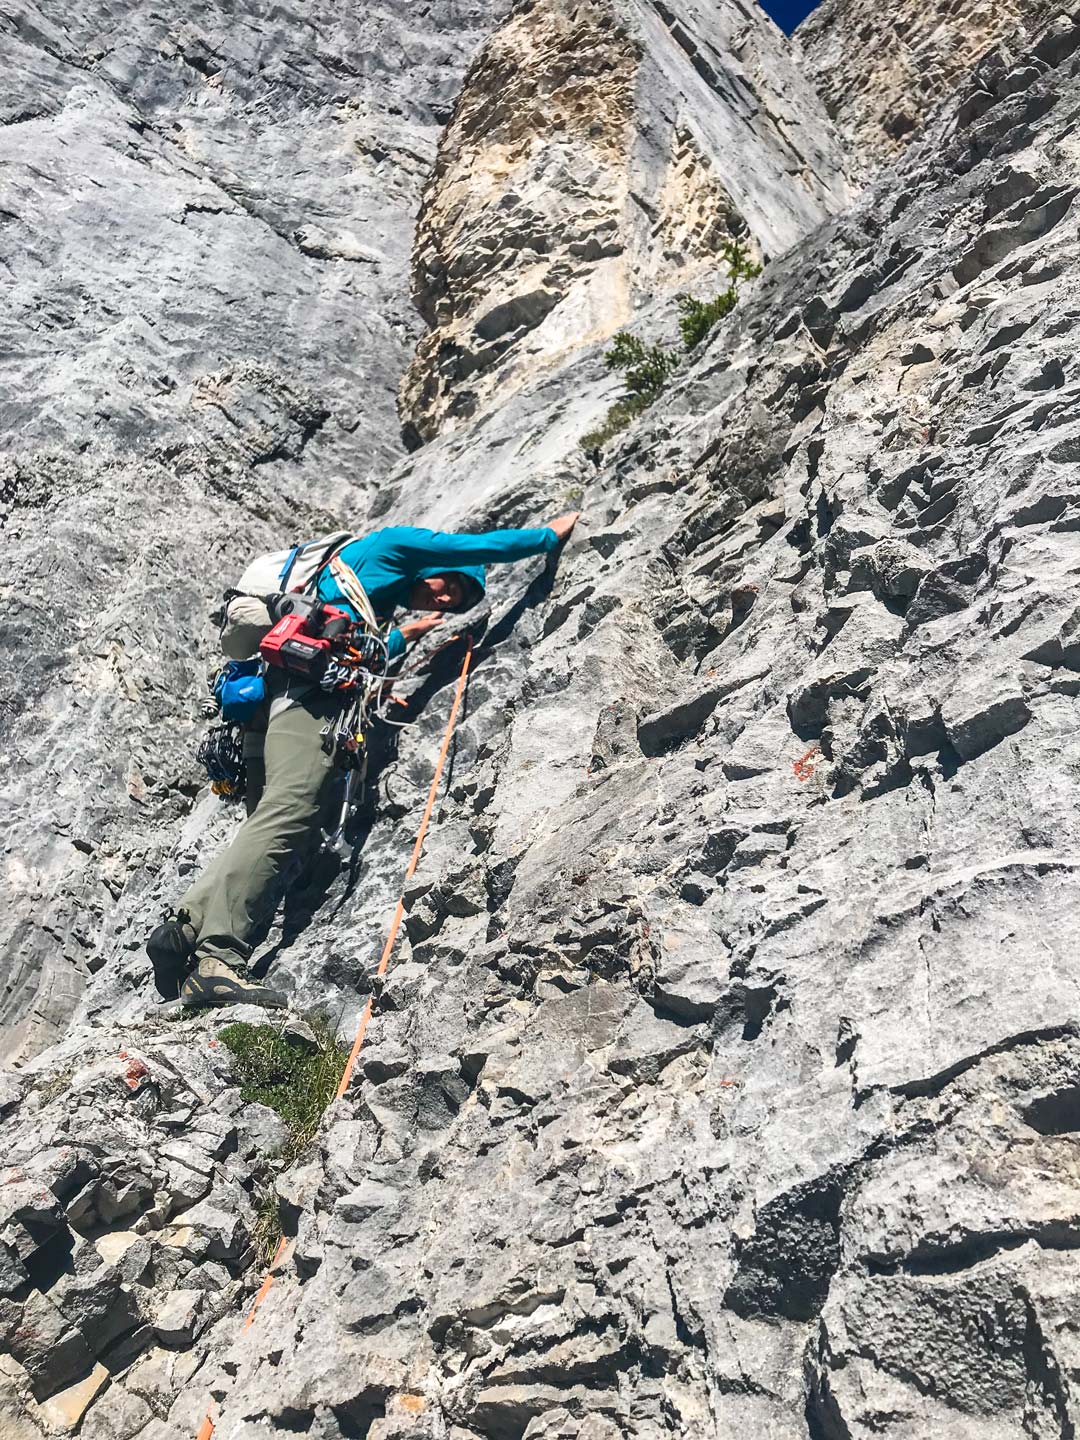
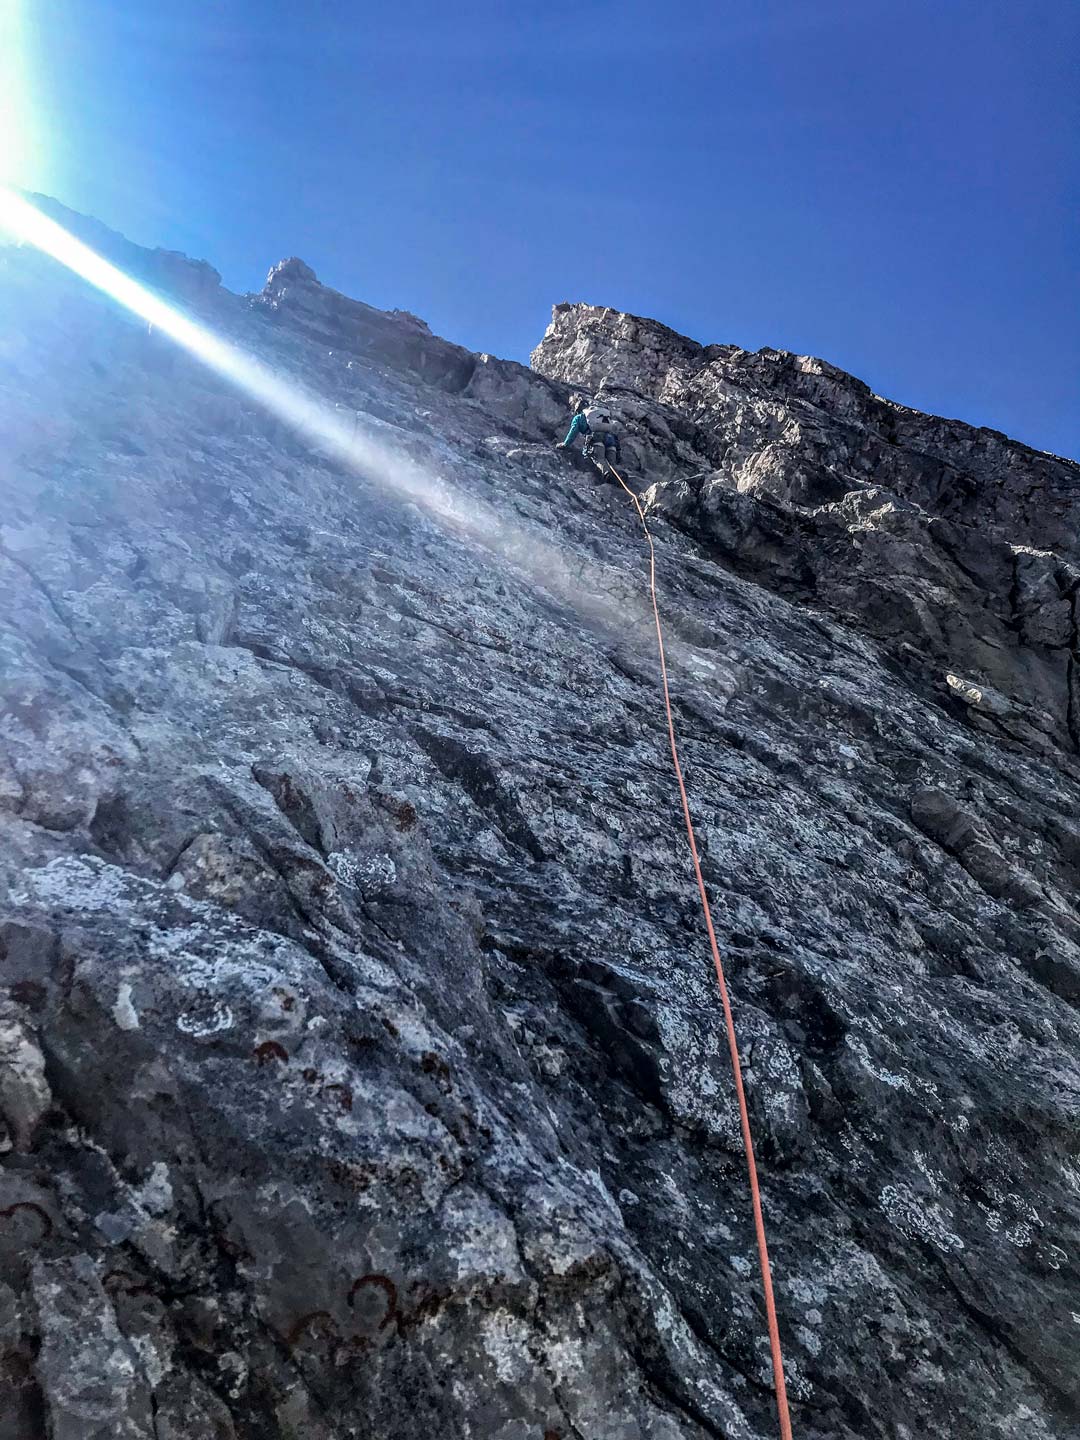
Face climb up and right towards a steep wall on the ridge crest. An extended 4 inch cam (120 or 240cm sling) fits in the large weakness to protect you as you move right and work around it. Move right on the face eventually gaining the ridge and continue to 2 bolt belay.
Pitch 12: 60m 5.8
Move right and gain a steep wall which takes good small gear before you pull a move to gain the ridge and find a 2 bolt belay.
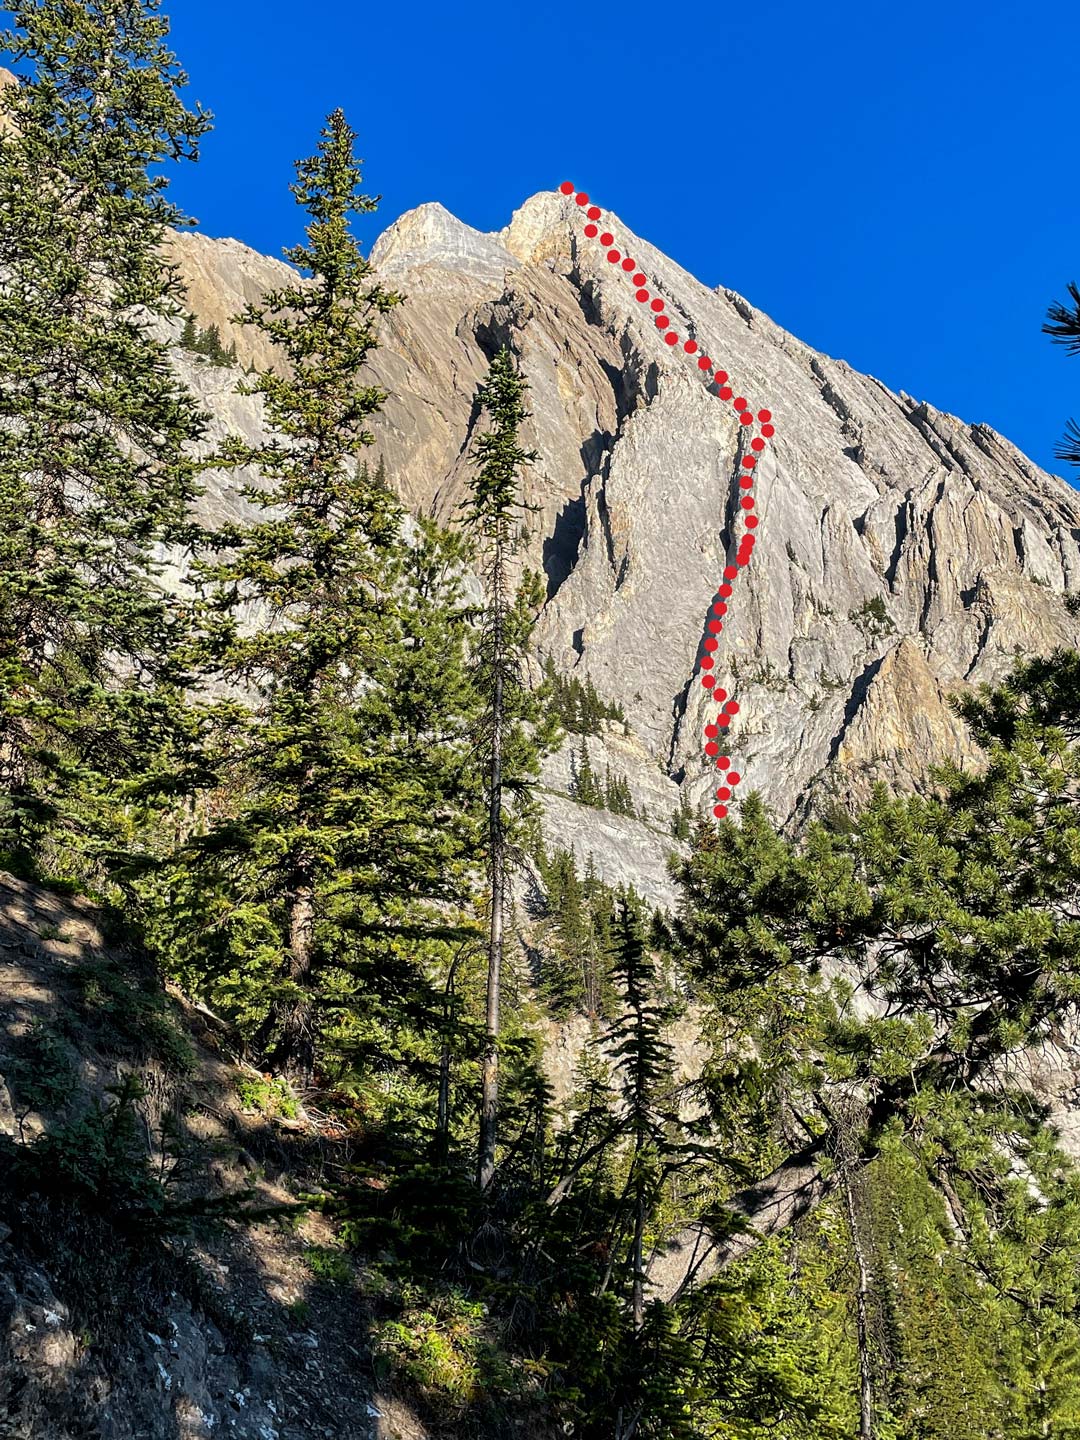
There are two main challenges in this last 100 meters.
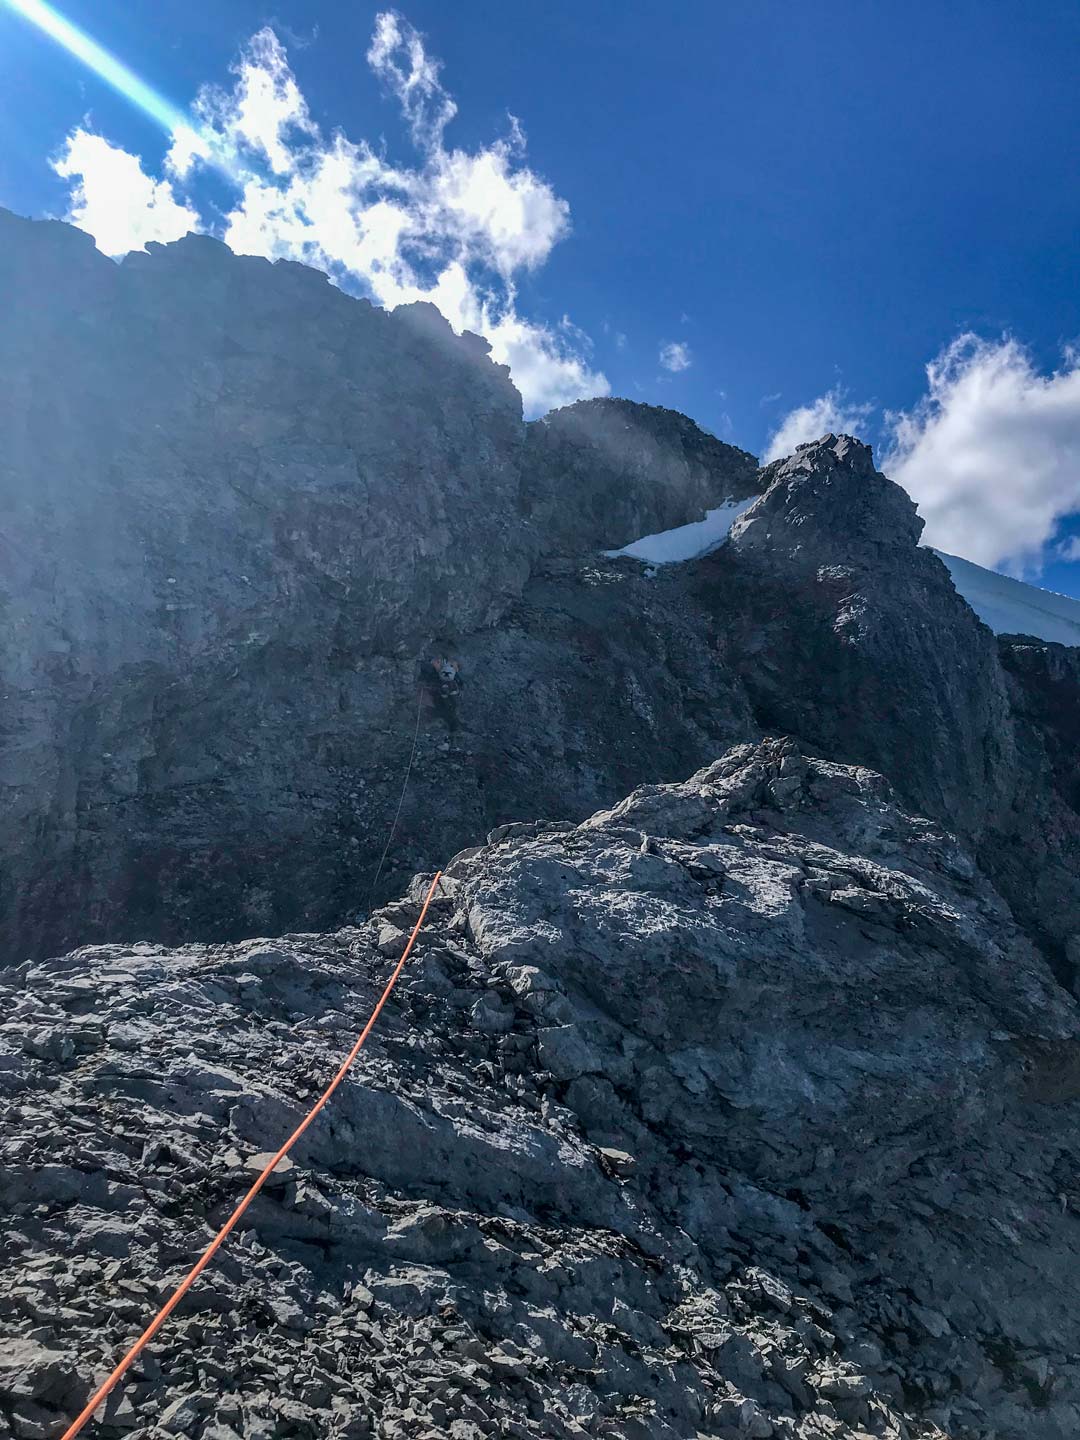
The first is a steep wall 100 meters before the summit which can be avoided by following the ramp to the right. There are excellent gear placements while you make this maneuver.
A second difficult wall will be encountered just before the summit. If you climb up and left you can find a sneak around the steep wall to the summit cairn!
Pitch 13: 60m 5.7
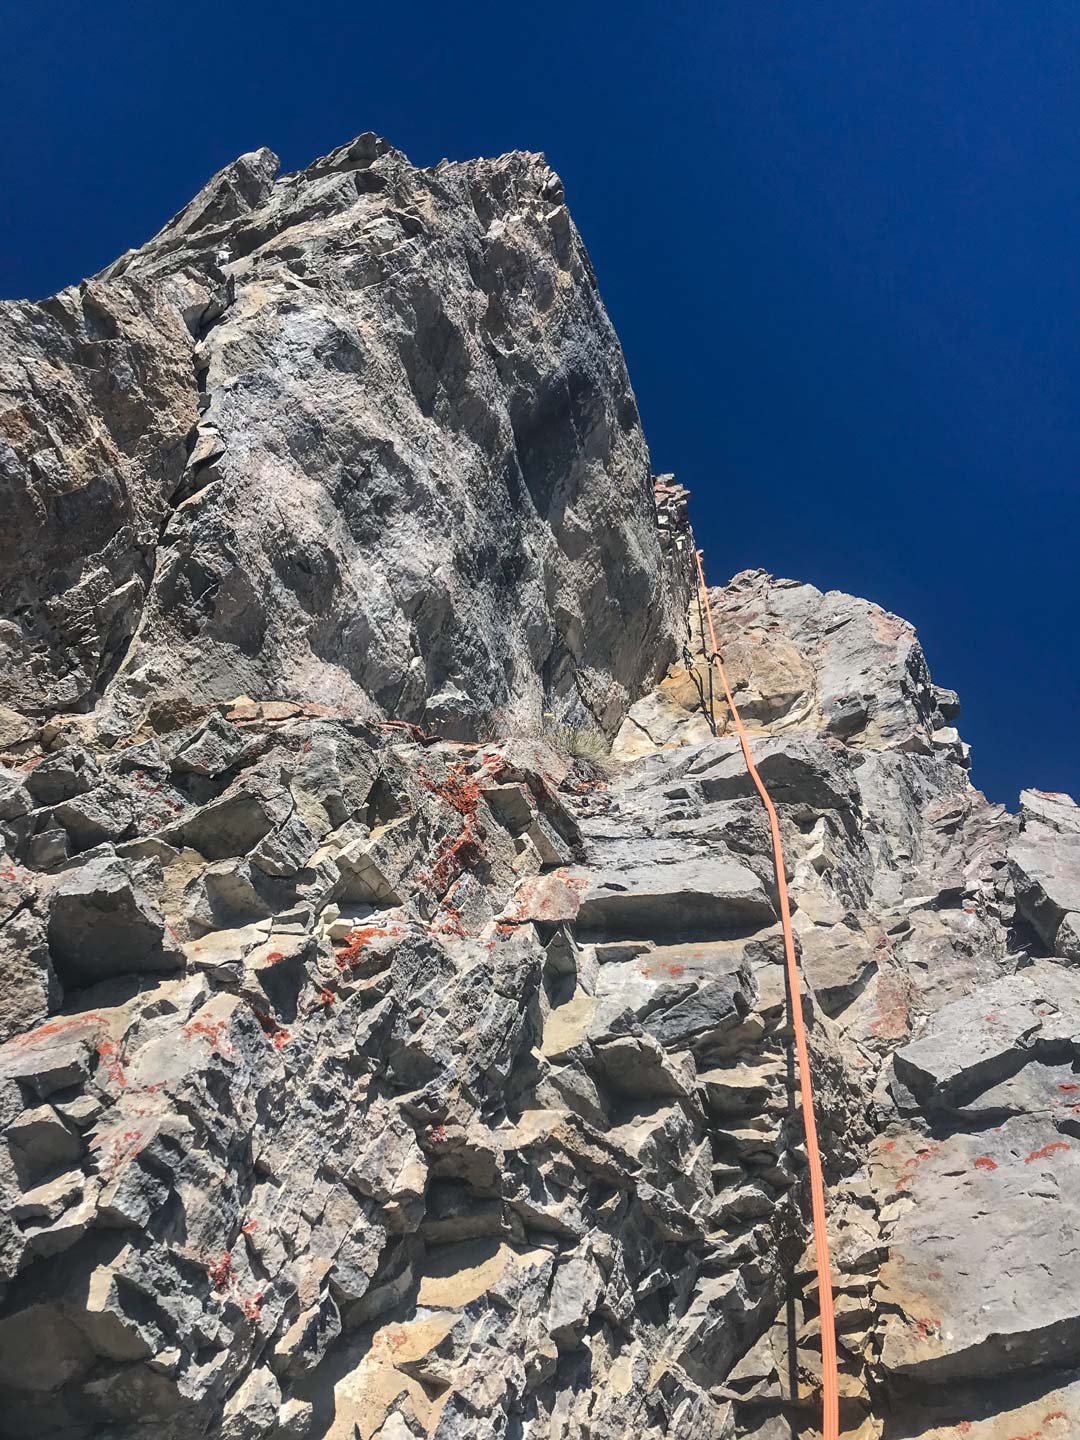
Continuing on the ridge and sometimes on the face to the right, to a 2 bolt belay on the ridge.
Final 250m 5.5 to 5.7
The pitch 13 belay stance reveals just how much climbing is left before you reach the summit. This is also the last bolted station.
The first ascent team used alternate rope techniques to gain the summit from this location and to avoid being benighted.
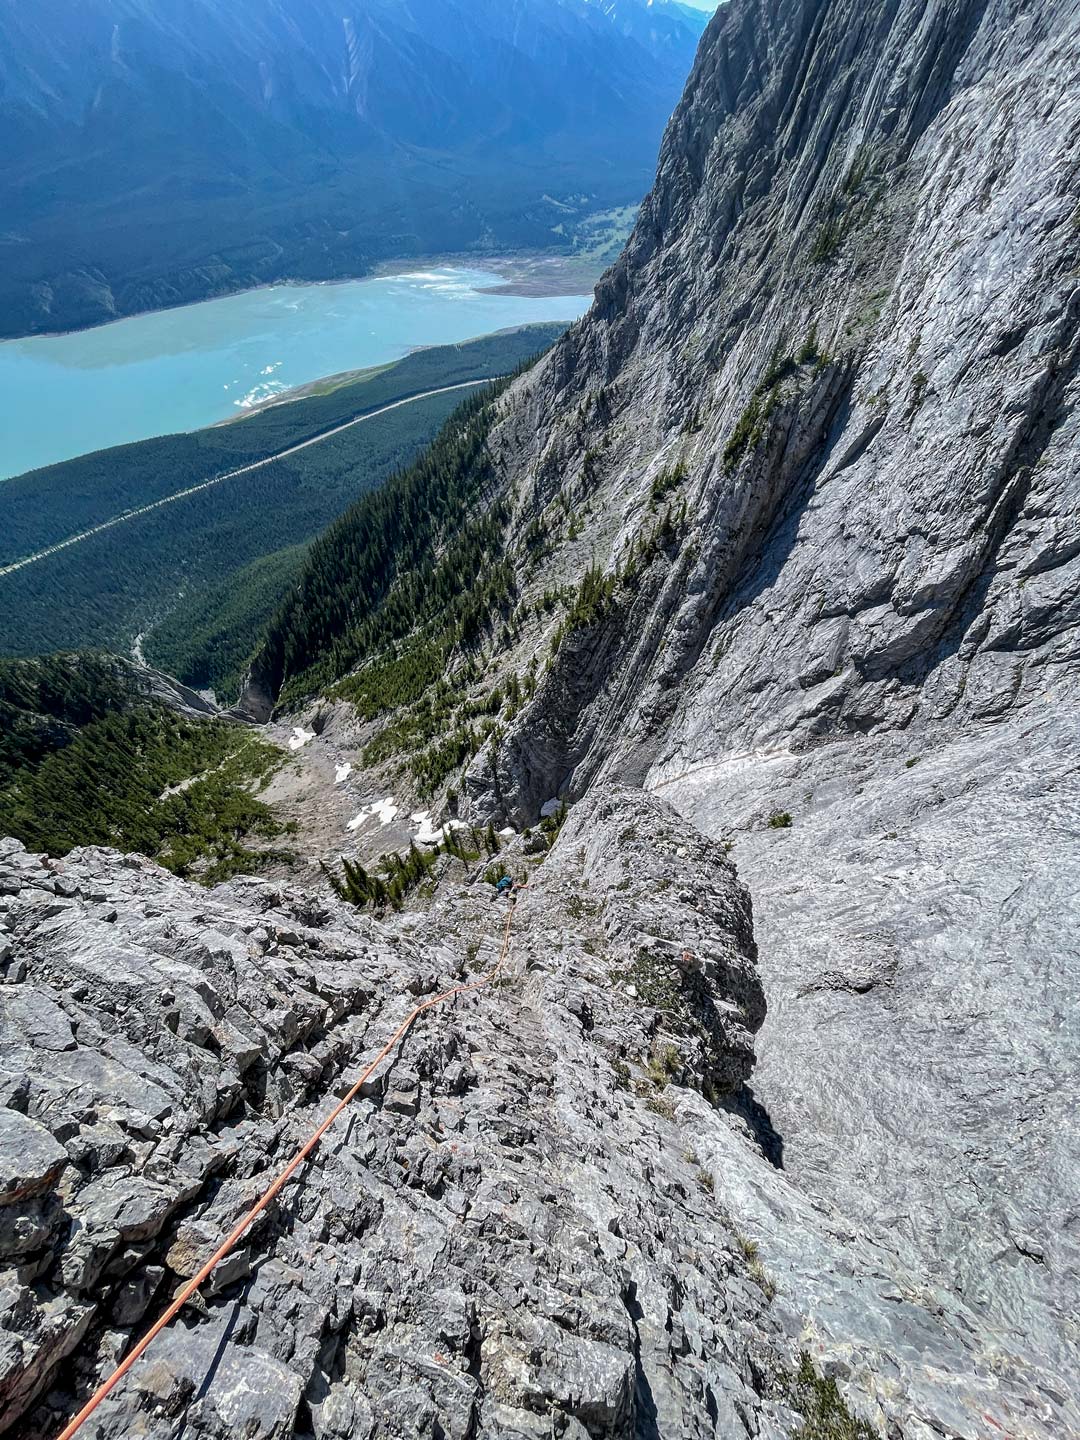
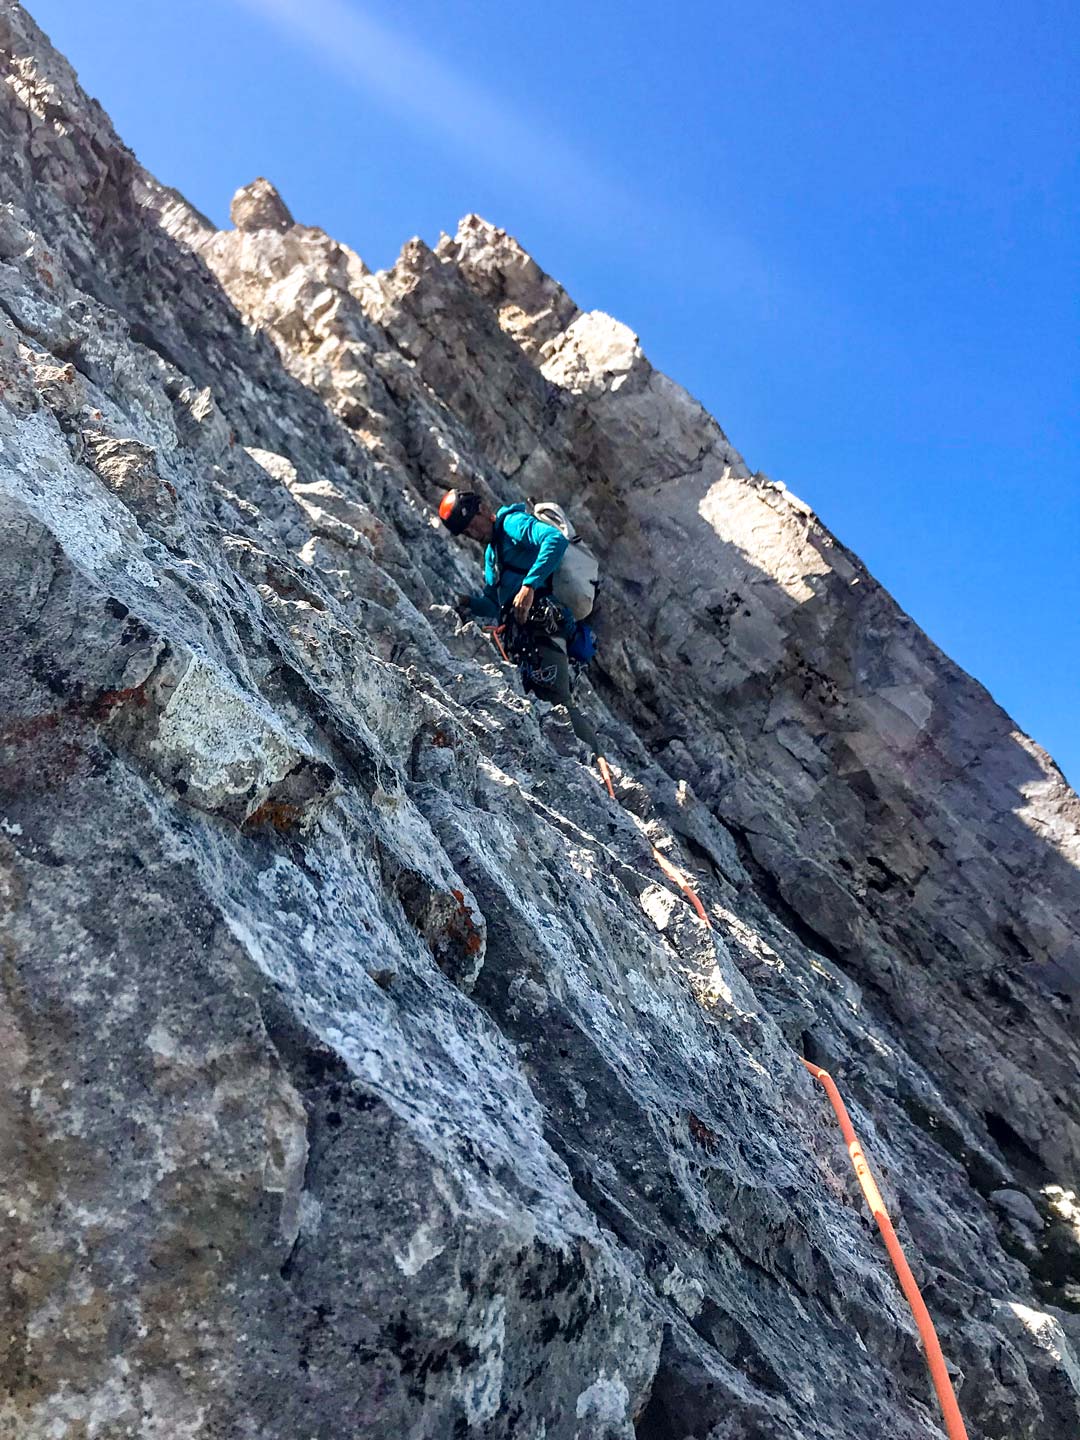
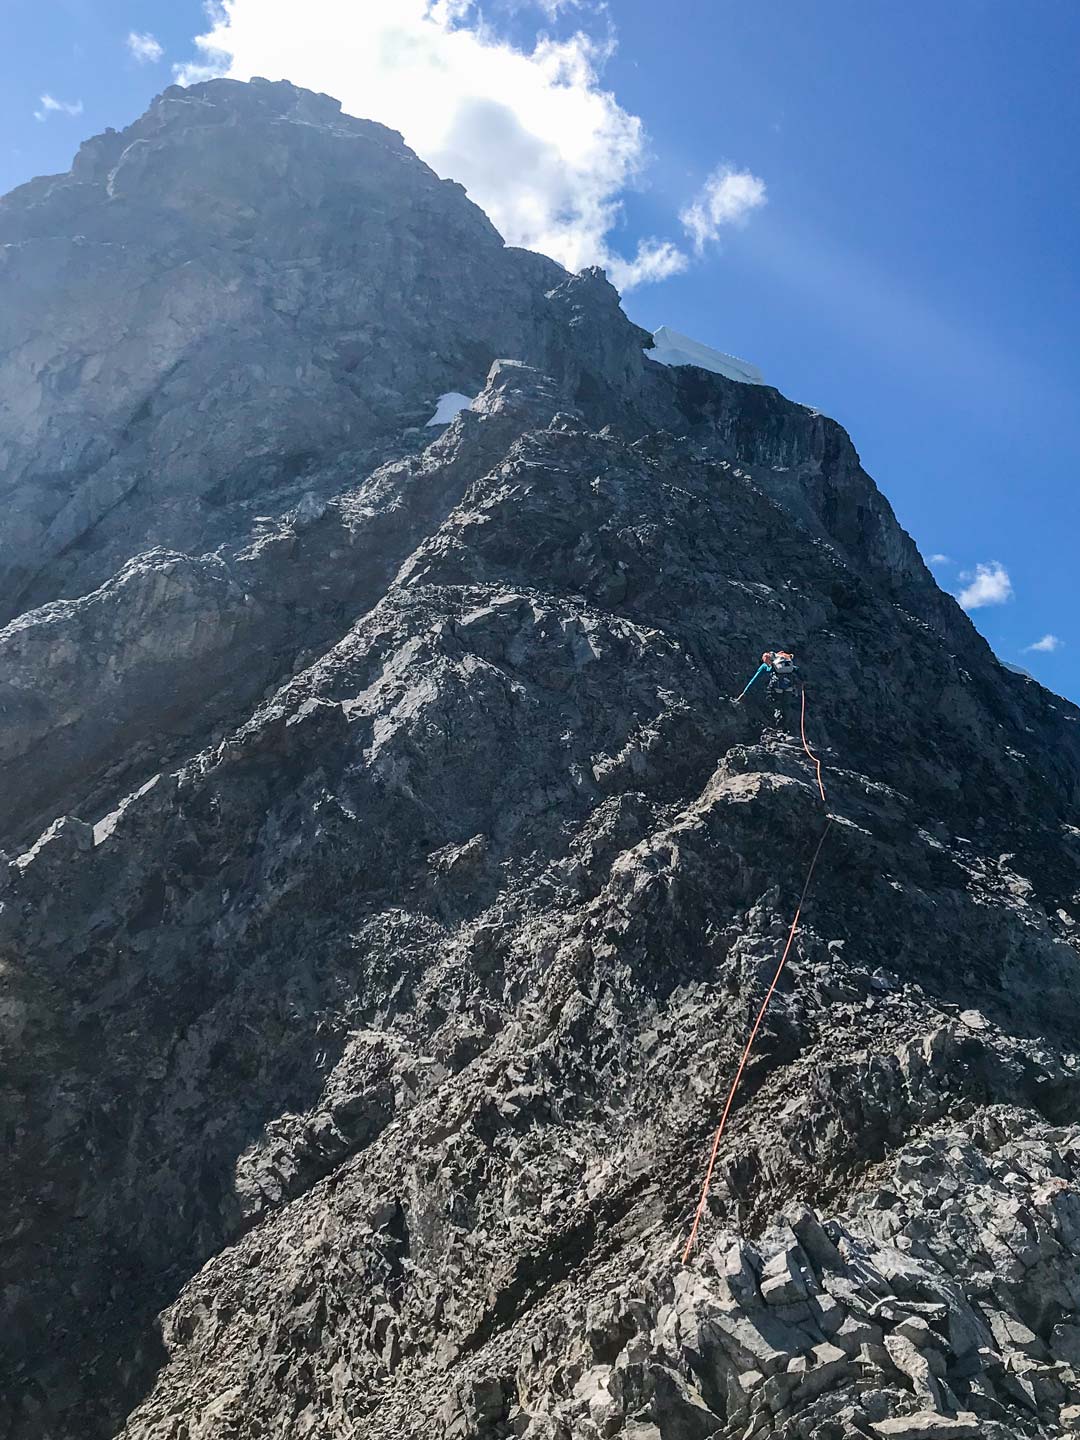
For the first 100 to 150 meters you will generally follow the exposed ridge.
For the last 100 meters any time the rock is reasonable on the face to the right it is worth considering climbing right and then regaining the ridge. This pattern works well and will be repeated many times on the push to the summit.
Descent:
Descend via the regular route off Mount Elliot. (North Bowl)


0 Comments